Photo and graphics from Metro Creative


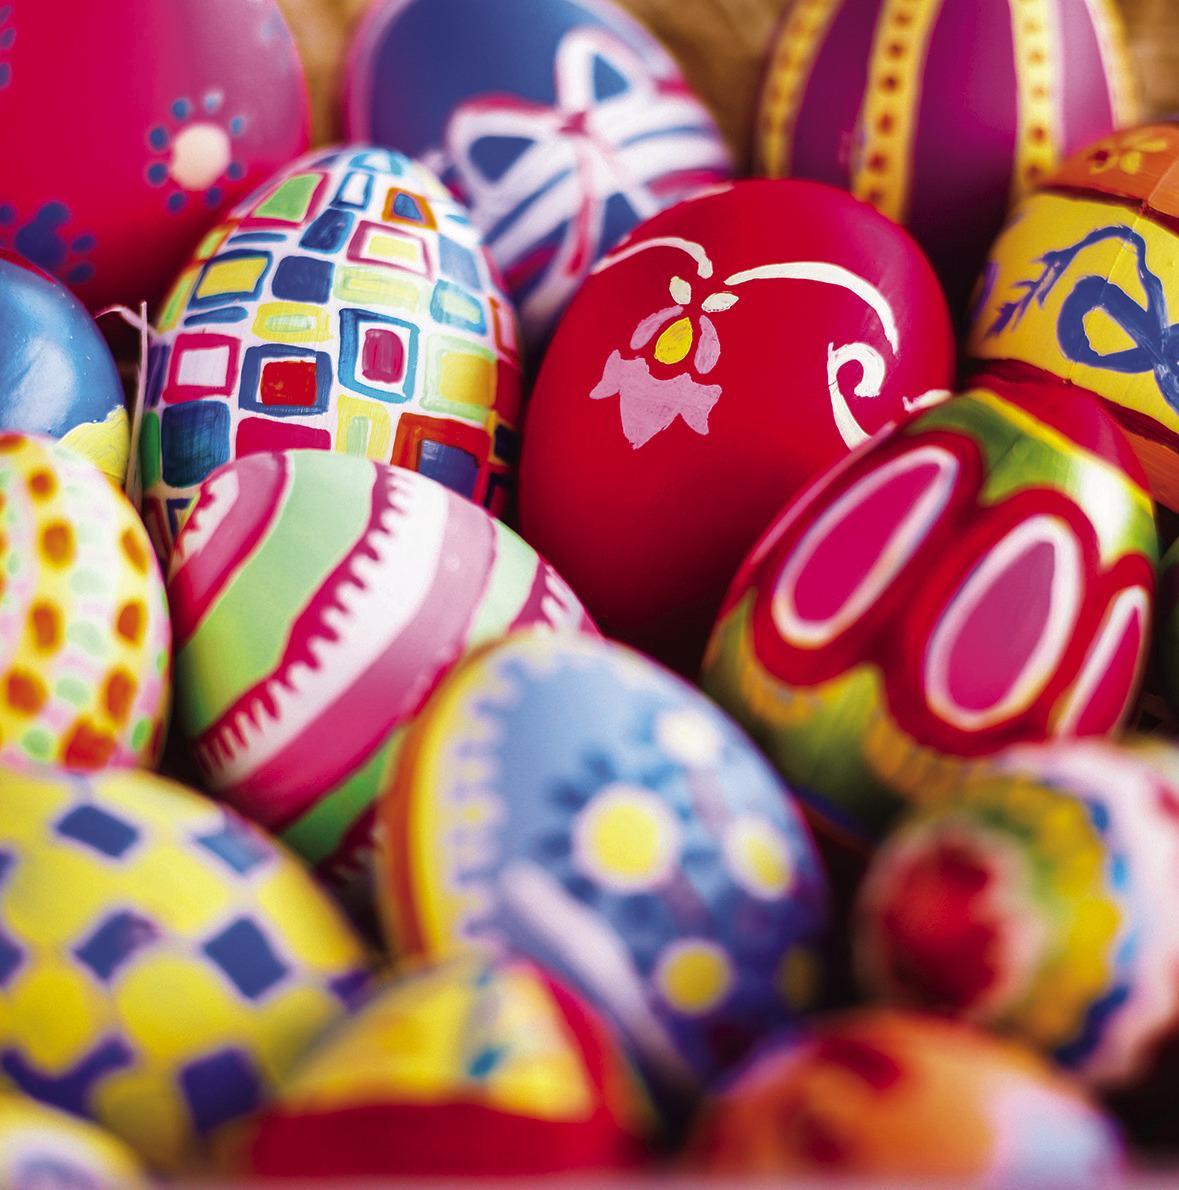
Party on, Egg-cellent
There are many ways to decorate Easter eggs. Regardless of which method you try, Easter egg decorating is often based on family tradition. For alternatives to hardboiled eggs, consider using papier- mâché, wooden, Styrofoam or plastic eggs. Whether you’re using a store-bought dye kit or natural egg-dyeing techniques, here are some other inspiring ideas to get you started with a fun day of Easter egg decorating.
“Blown out” Easter Eggs
“Blown out” eggs are delicate, but they will last for years. To blow out the egg whites and yolks, insert a long needle into the bottom of each egg and make a small hole, then make a larger one in the top. Move the needle around inside to break the yolk. Next, blow through the smaller hole until the liquid drips out of the larger hole. Run the egg under water, blow the water out, and let it dry overnight.
Silk-Dyed Eggs
With this egg-dyeing technique, colorful silk fabric transfers onto eggshells easily with regular vinegar plus hot water. You can use thrift store ties and scarves.
First, wrap the egg with 100% silk with the pattern facing inward.
Hold the fabric in place with a twist tie or twine. Boil the eggs in water with 1/4 cup white vinegar for 20 minutes. As the liquid boils, the print will transfer onto each shell.
Remove, cool, unwrap. Voila!
Decoupaged Paper Eggs
Cut small images from magazines like flowers, characters from comic books or patterns from napkins. Apply Mod Podge with a paintbrush to adhere the images to the egg. Once covered, let the eggs dry, then apply a final coat of Mod Podge. Mod Podge is a great water- based glue, sealer and finish for this type of craft.
Paper Doily Eggs
Small cut out shapes from paper doilies make great stencils. Use a needle to define spots that are not fully open, such as dots that are still blocked with paper. Spray with re-positionable adhesive and let dry. Arrange the pieces on the egg and press down with your fingers to secure the bond. Dab craft paint onto open areas of doily stencil using a spotter brush or sponge, then carefully remove doily stencil. Let dry for a few minutes.
Cool Whip Marbelized Eggs
Using a muffin tin, fill each cup with cool whip and add a drop of food color into each cup. Use a tooth pick to lightly swirl the color around. Drop hard boiled eggs into each tin cup and press down gently. Leave egg for about 10 minutes and then turn to other side and leave for another 10 minutes. Remove from tin, rinse with water and allow to dry.
Markers & Paint Brush Eggs
Use acrylic paint and different- sized craft paintbrushes to paint random shapes and patterns like dots, lines and squares. Markers are fun to use, too. Let your imagination go! Papier mâché and wooden eggs can be decorated in this way and reused year after with new designs.
Did you know that the tradition of decorating eggs actually predates Christianity?
Around 2,500 years ago, many ancient cultures painted eggs during their New Year celebrations. To this day, families around the world continue the tradition of dyeing eggs for springtime festivities.